
Eject
Ejecting downloads a project as a standard Helm chart with one values file per environment. Install it with helm on a Kubernetes cluster of your own and the same services, databases, key-value stores and volumes come up there, configured the way they run on Lucity, without any Lucity component involved.
It is a copy of the configuration, not a migration. Your data and the images Lucity built for you do not come along, and moving them is manual work, as the limitations below spell out.
Ejecting changes nothing on Lucity. The project keeps running, so you can eject to keep a copy, to try out your own cluster first, or to move for good.
Downloading a project
Open the project, click Eject in the header, then Download .zip. The archive covers every environment in the project that has something in it.
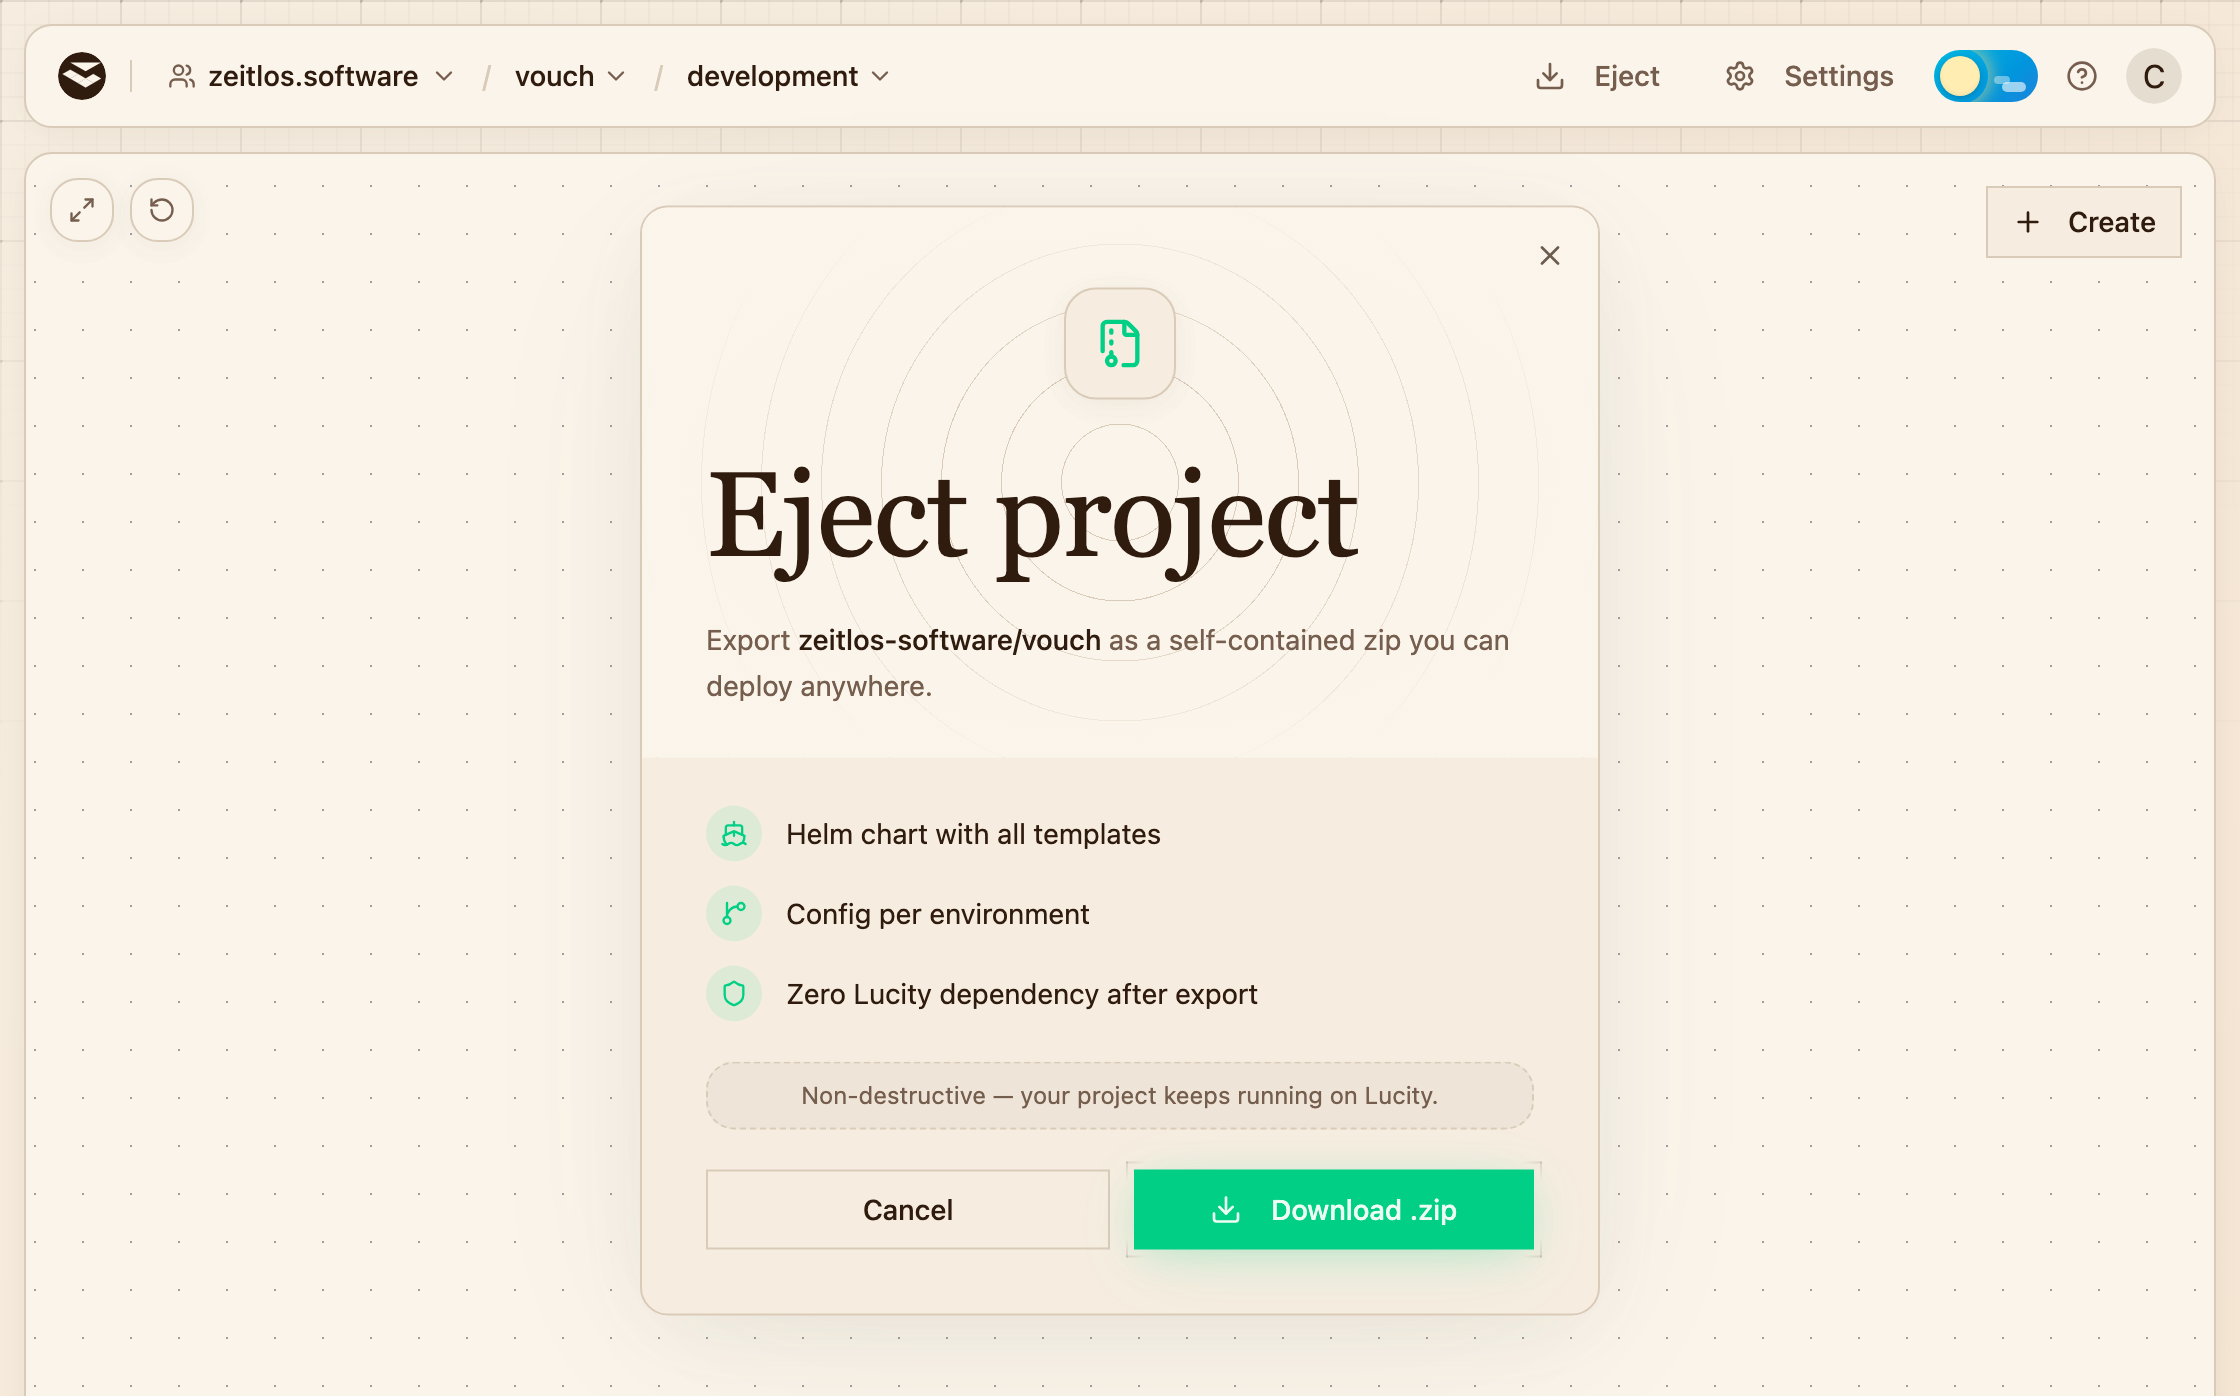
Eject sits in the header of every project, next to Settings.
What's inside
shop-ejected/
├── README.md
├── build.sh
├── chart/
└── values/
    ├── development.yaml
    └── production.yaml
chart/ is the Helm chart every Lucity environment is deployed with. Each file in values/ describes one environment as it runs right now, from its services with their images, variables, replicas, resources and domains to its databases, key-value stores and volumes. build.sh rebuilds the images of services built from source, and the README has the install command and links back to this page.
Limitations
The archive covers configuration only. The rest is manual work:
- Data is not included. Databases, key-value stores and volumes come up empty on your cluster, and bucket files stay in their buckets. You copy all of it yourself, as described under move your data.
- Volume contents have no export. Lucity has no way to download a volume, so its files have to come out through your own service, for example by copying them into a bucket.
- Images built from source have to be rebuilt. They sit in the platform's registry, which nothing outside Lucity can reach. The archive's build script rebuilds them, on a machine of yours with Docker.
- Moving means downtime. There is no live migration. Writes have to stop while the data is copied, and custom domains wait a minute or two for new certificates after the DNS switch.
- Credentials change. Databases get new passwords on your cluster, and bucket credentials are not in the archive. Services that read them through variables pick up the new ones, but anything holding a copied connection string needs updating.
- It is a snapshot. The chart and values stay as they were when you downloaded them. Changes you make on Lucity afterwards need a fresh eject.
Installing on your own cluster
The steps below install production of a project called shop. Repeat them for every environment you want to run, each in its own namespace.
Prerequisites
What to install up front depends on what the project uses.
| If the project has | The cluster needs |
|---|---|
| Services | Kubernetes 1.33 or newer, on nodes that support user namespaces (Linux 6.3+, containerd 2.0+ or CRI-O) |
| Databases, key-value stores or volumes | A default StorageClass |
| PostgreSQL databases | The CloudNativePG(opens in a new tab) operator |
| Domains | A Gateway API(opens in a new tab) implementation and a Gateway reachable from the internet |
| Custom domains | ListenerSet support on that Gateway, and cert-manager(opens in a new tab) 1.20+ with an HTTP-01 ClusterIssuer |
| Autoscaling | metrics-server(opens in a new tab) |
| A database with internet access | Traefik(opens in a new tab) with an entrypoint named postgres that receives the client's real address (PROXY protocol behind a load balancer), or delete publicAccess from the database's values |
Every service runs in its own user namespace, so root inside a container is an unprivileged user on the node. That is where the node requirements come from.
Each custom domain brings its own listener and certificate. Your Gateway has to accept listeners from the environment's namespace, which is its allowedListeners setting, and cert-manager needs its Gateway API support(opens in a new tab) switched on to answer the HTTP-01 challenge. If you would rather terminate TLS on your own Gateway listeners, delete a domain's listenerSet block and its route attaches to the Gateway directly.
Rebuild your images
Services created from an image, such as Ghost from Docker Hub, keep pulling it from the same public registry and need no changes.
Services built from a repository point at the platform's own registry, which only Lucity's cluster can reach. build.sh builds them again and pushes them to a registry of yours. Log in to that registry with docker login first, then run:
./build.sh production registry.example.com/shop
For every service in the environment that is built from a repository, the script clones the repository at the commit in the service's image tag and builds it with Railpack(opens in a new tab), in the version Lucity uses and with the service's variables. It pushes the result as registry.example.com/shop/<service>:<tag> and points the service's image in values/production.yaml at it. Add service names after the registry to build only those.
The script needs Docker, git and yq(opens in a new tab), plus your own git credentials for private repositories. Images are built for linux/amd64 as on Lucity, which is emulated and slower on an Apple Silicon Mac. For an arm64 cluster, set BUILD_PLATFORM=linux/arm64.
If you would rather build another way, set the service's image.repository and image.tag to your image and delete its image.digest.
Update the values
A few values name things that only exist on Lucity. Change them before installing:
gatewayis the Gateway your routes attach to. Set itsnameandnamespaceto yours.- Platform domains, the hostnames Lucity generated for your services, keep pointing at Lucity. Remove them from the service's
domains, or replace them with hostnames of your own. Variables that contain one, such as a frontend's API URL, need the new hostname as well. issuerRefunder each custom domain names the ClusterIssuer for its certificate. Use the name of yours.imagePullSecretsnames Lucity's registry credentials. Put the name of your own pull secret there, or remove it if your images are public.
Install the chart
A service connected to a bucket reads the bucket's variables from a secret named lucity-bucket-<bucket>, which is not part of the chart. Create it in the environment's namespace before installing, either with the bucket's current credentials from its Connect tab to keep using the bucket where it is, or with those of the storage you are moving to:
kubectl create namespace shop-production
kubectl create secret generic lucity-bucket-uploads -n shop-production \
  --from-literal=bucket=<bucket> \
  --from-literal=endpoint=<endpoint> \
  --from-literal=region=<region> \
  --from-literal=accessKeyId=<access-key-id> \
  --from-literal=secretAccessKey=<secret-access-key>
The pull secret for a private registry goes into the same namespace. Then install the environment:
helm upgrade --install lucity-app ./chart \
  -f values/production.yaml \
  -n shop-production --create-namespace
The release has to be called lucity-app. Every resource name derives from it, and the values refer to some of them by name, such as the secrets your variables are read from and the private hostnames services use to reach each other.
From here on the values file is your configuration. Edit it and run the same command to roll out a change.
Move your data
Databases, key-value stores and volumes come up empty on the new cluster. Copy their contents once nothing writes to the old ones anymore, or whatever is written in between stays behind.
PostgreSQL. Switch on internet access for the database and dump it with the connection string from its Connect tab. Then restore the dump on the new database's first instance, whose pod is named lucity-app-pg-<database>-1:
pg_dump --format=custom "<connection string>" > main.dump
kubectl exec -i -n shop-production lucity-app-pg-main-1 -- \
  pg_restore --dbname=app < main.dump
Buckets. If the files are moving too, copy them with any S3 tool. The bucket's Connect tab has a ready-made rclone configuration.
Volumes. With no download to fall back on, copy the files out from inside the service, for example into a bucket, and back in on the other side.
Key-value stores. Caches and sessions can start over. Anything you need to keep has to be copied from inside a service.
Switch over
Once everything runs, point your custom domains' DNS at your Gateway. Their certificates can only be issued once the records point at your cluster, so HTTPS takes a minute or two to come up on the new side.
When nothing on Lucity is needed anymore, delete the project. Its buckets go with it, so move any bucket you are still using first.
What you take over
The archive is the deployment, not the platform around it. On your own cluster these are yours to run:
- Builds and deploys. A push no longer deploys anything. Build and run
helm upgradefrom your CI instead. - Database backups. Backups and point-in-time recovery are not part of the export. Configure backups in CloudNativePG(opens in a new tab) to get them back.
- Separation between environments. Lucity keeps each environment on its own network and within a resource budget, and both live outside the chart. Add network policies and quotas of your own if environments share a cluster.
- Logs, metrics and the dashboard. Bring the observability tools you already like.
Next steps
- Self-hosting for running the whole platform on your own infrastructure instead
- PostgreSQL for reaching a database from outside Lucity
- Builds for how Lucity turns a repository into an image